

Why You Should Use TailwindCSS
Basic Introduction to Tailwind CSS and How to Install it for your next project


Tailwind CSS has been one of the recent buzz words in the tech industry. Learning this framework would come handy along the way as a developer. This article is focused on explaining what Tailwind is and options of installation for your next project.
What is Tailwind CSS and Why should I use it?
Tailwind CSS is a CSS framework made up of utility classes.
What exactly does utility classes mean?
Utility-first classes allows us to create a custom style without actually writing a custom CSS as well as without having to create custom class names. As naming a class is usually difficult, especially on a large scale application and we often end up giving our classes ambiguous names like .box,.card, .container, etc. I would give a practical approach to how Utility-first Class differs from Custom CSS.
We will write a CSS class which contain the styles for the color, padding,margin, border and background-color like below:
.bar {
    padding: 16px;
    border-radius: 4px;
    margin-top: 4px;
    background-color: blue;
}
<div class="bar"></div>
With Utility-first CSS, each class is a low-level CSS composition. Instead of creating a class that applies a bunch of different CSS rules, it will only contain very specific rules. If I’d like to add a rounded corner, l would just call it .rounded-sm
.bg-blue {
    background-color: blue;
}
.rounded-sm{
    border-radius: 4px;
}
.mt-1 {
    margin-top: 4px;   //Note 4px in Custom CSS= 1rem in Tailwind CSS
}
.p-4{
    padding:16px;  //Note 16px in Custom CSS= 4 rem in Tailwind CSS
}
If you’d like to apply a background- color of blue, a small border-radius, a margin-top of 4px and a padding of 16px, you will need to add these three classes.
<div class="bg-blue rounded-sm mt-1 p-4"></div>
It is like Bootstrap or Materialize however it is more flexible and customisable. Just like a website built with bootstrap can be easily recognised but the look and feel of a website built with Tailwind CSS is entirely up to you.
An important tip to note is that Tailwind is not a replacement for CSS so you should know HTML and CSS. Now we have established reasons why we should use Tailwind, lets delve into how to use it in our application.
Installation
Tailwind CSS can be installed in various frameworks such as next.js, Vue, nuxt.js, create react app(CRA), lavarel and Gatsby. We would be working through two options for installing Tailwind.
Installation via CDN
Here, we would include the CDN link into the head of our HTML document.
<link href="https://unpkg.com/tailwindcss@^2/dist/tailwind.min.css" rel="stylesheet">
<!doctype html>
<html>
<head>
  <meta charset="UTF-8" />
  <meta name="viewport" content="width=device-width, initial-scale=1.0" />
  <link href="https://unpkg.com/tailwindcss@^2/dist/tailwind.min.css" rel="stylesheet">

</head>
<body>
  <!-- ... -->
</body>
</html>
This is quite straightforward and should be used only for small projects. This is due to the fact that most features that make tailwind CSS great are not available when installed through this method. Therefore to have access to all the awesome features of this framework, it is recommended to install it via npm.
Installation via NPM
You need node.js installed on your computer because we would need npm to install Tailwind.
You can check if node is installed on your machine by typing this in your terminal
node -v // This would output the version of node installed
If not installed, go to the official website and download node.js
- Create a new directory and
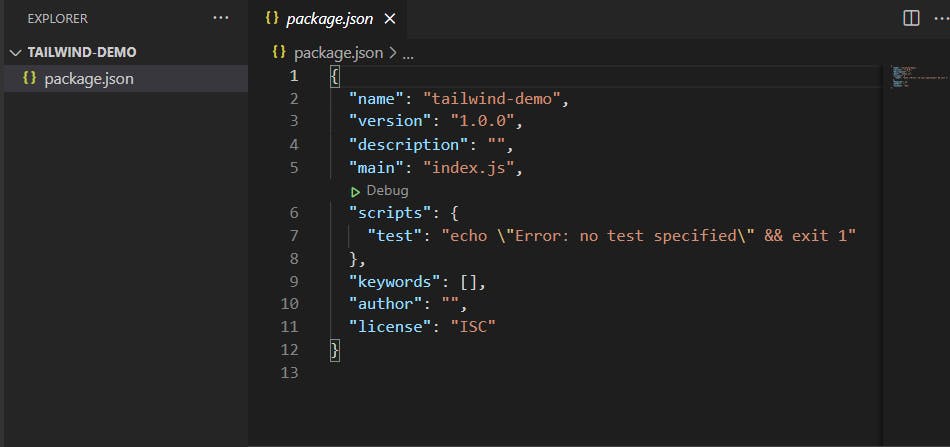
cdinto this folder. We would create apackage.jsonfile with default values. This would help keep track of all our dependencies we would install.
mkdir tailwind-demo
cd tailwind-demo
npm init -y
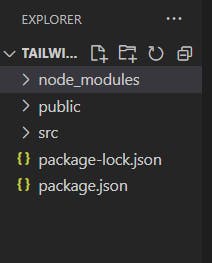
Your file structure should be similar to this.
- We would install the tailwindcss dependency. This installation comes with the
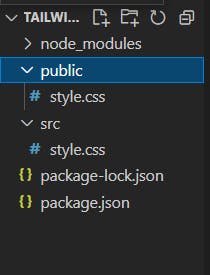
node moduleswhich we are not to tamper with and thepackage-lock.jsonfile.npm install tailwindcss - Inside our tailwind-demo folder, we would create two sub-folders
srcandpublic. We would create a file calledstyles.cssinside oursrcfolder. Your file structure should be similar to this.
 In our
 styles.css, we would add @tailwind directive. This is used to plugin Tailwind’s default components, base and utility styles into the CSS as follows:
@tailwind base;
@tailwind components;
@tailwind utilities;
- In our
package.jsonfile, we would replace thescript

'build-css': 'tailwindcss build src/styles.css -o public/styles.css'
The build-css is a random name and you can decide to use another name instead.
It is important to note that styles.css (public) is not being created manually but being built into using the code below.
- Using the terminal, we would build our
styles.css(src folder) into astyles.css(public folder).npm run build-cssstyles.csswe just built inside the public folder. The file structure should be similar to this.
 In the case of an error while building, run the code below first before running
 npm run build-css.
npm i tailwindcss@latest autoprefixer @latest
With these steps, we have successfully installed tailwindcss using npm. To get an in depth use of tailwindcss for a project, you can check out this profile card which I built using Tailwind CSS.
CONCLUSION
Tailwind can greatly benefit us if our application is large in size as it will allow us to enhance and provide compact styling. It will make it easier for us to make complex components responsive.
Keep learning! Keep coding!! 💛